


Download Capto for older versions of macOS
Get to know Capto from these video tutorials that explain the basics of major features. Enter a search term to refine what you’re looking for.

Capto Helper
Show Capto in menu bar:
Selecting the option will show Capto icon in menu bar
Show Capto in menu bar on Login:
Selecting this option will launch Capto icon in menu bar on login of your system.
Keep Capto in menu bar when I quit from Dock:
Selecting this option will keep the Capto Helper icon in the menu bar, even though you have quit the app via the Dock. This gives easier access to certain Capto functions.
Capture Settings
Show Capto after Capturing and Recording:
Selecting this option will open the app after Capturing and Recording
Show magnifier for Capture and Recording:
Selecting this option enables magnifier option where you can Zoom in on the pixel points
Show keyboard tips while Capturing and Recording:
Selecting this option will show the keyboard tips once you initiate Capturing and recording
Remember previous Capture and Recording area:
Selecting this option will store the previously selected area for Capturing and Recording
Save Web Archive:
Once selected, Capto saves the webpage as both, as an image and a webpage.
Check for updates automatically:
Capto checks and notifies if there are any latest updates when you select this option.
Library location:
You can either create or choose an existing Capto library.
Capto library contains all the data, which you worked in Capto until now. To view the contents, you can do a right click (Control click) on Capto library and click on "Show Package Contents”.
Changing the Library location will require re-launching Capto.
Copy last capture to Clipboard:
Selecting this option copies the capture to the Clipboard.
Capture Mouse pointer:
Selecting this option captures mouse pointer along with the Captured image.
Turn off drop shadow for Window Capture:
Selecting this option prevents shadows from being captured.
Play clicking sound while Capturing:
Selecting this option plays the clicking sound while capturing.
Show flashlight while Capturing:
Selecting the option, flashlight appears while capturing.
Timed Capture:
The option allows you to set the time delay for the timed capture. The maximum time delay is 20 seconds and
minimum is 1.
Naming convention:
Selecting the option will let you provide the desired name to be prefixed for the captured images and videos. You can also append capture date and time.
Note: For Macs with a retina display, users can choose if they want to scale down retina captures by 2x before exporting.
Recording countdown:
The option allows you to set a timer for recording. The maximum time delay is 20 seconds and minimum is 1.
Video Settings:
Maximum Frame Rate:
This drop-down allows you to select the frame rate for video recording from the following three options: 10, 15, 20, 25, 30 and 60 FPS. The higher the frame rate, the higher the quality (Note: iMac 5K can record up-to 30 FPS only)
Uninstallation:
In order to uninstall the audio component, which will be installed at the time of ‘Recording Computer audio’, you need to download a script via our website by clicking on ‘Uninstall Capto Device’. Next, run the same.
Here you will find various options to change the format of the files while dragging out the image, exporting to Clipboard and for mailing purpose.
Default mail client:
Selecting this option will allow you to set the default email client for sending Capto files.
Add Applications to export images:
This allows you to add the applications to which the images can be exported; the added applications are displayed in ‘Send to’ under the Share menu or ‘Right Click’ on the thumbnail icon. To add an application to the list, click the ‘+’ button and select the desired application from the sheet that is put up. To select the format in which the image should be exported to the added application, click on the file format drop-down adjacent to the application in the list and select the desired format. To delete an existing application from the list, select the application and click the ‘-’ button.
Add Applications to export videos:
This allows you to add the applications to which the videos can be exported; the added applications are displayed in ‘Send to’ under the Share menu or Right Click on the thumbnail icon. To add an application to the list, click the ‘+’ button and select the desired application from the sheet that is put up. To select the format in which the video should be exported to the added application, click on the file format drop-down adjacent to the application in the list and select the desired format. To delete an existing application from the list, select the application and click the ‘-’ button.
You can share images using Dropbox, Evernote or Tumblr and videos using Dropbox, Evernote, Tumblr and YouTube, or you can publish them both to FTP/SFTP. Users can also share using the OS integrated Facebook, Twitter, Flicker, Vimeo, Messages and Airdrop settings. To use these OS X integrated sharing features, sign in to the respective services under System Preferences-> Internet Accounts.
FTP and SFTP:
Capto can override the default system shortcut key combinations for capturing.
The default hot keys available in Capto are as follows:
1. Show Capto: Shift (⇧) + Cmd (⌘) + 1
2. Fullscreen Capture: Control + Cmd (⌘) + 3
3. Selection Capture: Control + Cmd (⌘) + 4
4. Window Capture: Shift (⇧) + Cmd (⌘) + 5
5. Menu Capture: Shift (⇧) + Cmd (⌘) + M
6. Capture Floating Panels: Control + Cmd (⌘) + 7
7. Fullscreen Recording: Option (⌥) + Cmd (⌘) + 3
8. Selection Recording: Option (⌥) + Cmd (⌘) + 4
9. Snap active browser URL: Shift (⇧) + Cmd (⌘) + W
10. Open current URL in Voila: Option (⌥)+ Cmd (⌘) + W
11. Stop video Recording: Shift (⇧) + Cmd (⌘) + Esc ( )
12. Pause/Resume Recording: Shift (⇧) + Cmd (⌘) + P
Screen Recording:
Screen recording can be used to record entire screens.
Select the ‘Screen’ option from the ‘Record’ drop-down in the Capto toolbar. You can also select the ‘Record Screen’ option from the Record menu or status menu.
Note: In High Sierra, you cannot record 4K videos using Capto. But for the previous OS, Capto will continue to support 4K videos.
Selection Recording:
Selection recording can be used to record a selection on the screen.
Select the ‘Selection’ option from the ‘Record’ drop-down in the Capto toolbar. You can also select the ‘Record Selection’ option from the Record menu or status menu.
To stop and save the recording, press Shift + Cmd + Esc on the keyboard or select ‘Stop and Save Recording’ from the status menu.
Note: Pressing Esc before the recording starts cancels the Selection recording mode and puts up the Capto window (if set so in Preferences > Capture).
To cancel the recording while it is in progress, select ‘Cancel Recording’ from the status menu.
To Pause the recording when it is in progress, select ‘Pause Recording’ from the status menu.
To Resume the recording while it is in Pause state, select ‘Resume Recording’ from the status menu.

You can record using any Camera in your Mac, it can be either Built-In camera or external camera.
Video record your iPhone or iPad’s screen by connecting the device to a Mac.
To record your iOS devices:
1. Please connect the device to your Mac
2. Next, Open Capto and select 'Record' option within the app
3. You will see a drop down, if iOS device is connected, you can see the device name as shown in the screenshot below
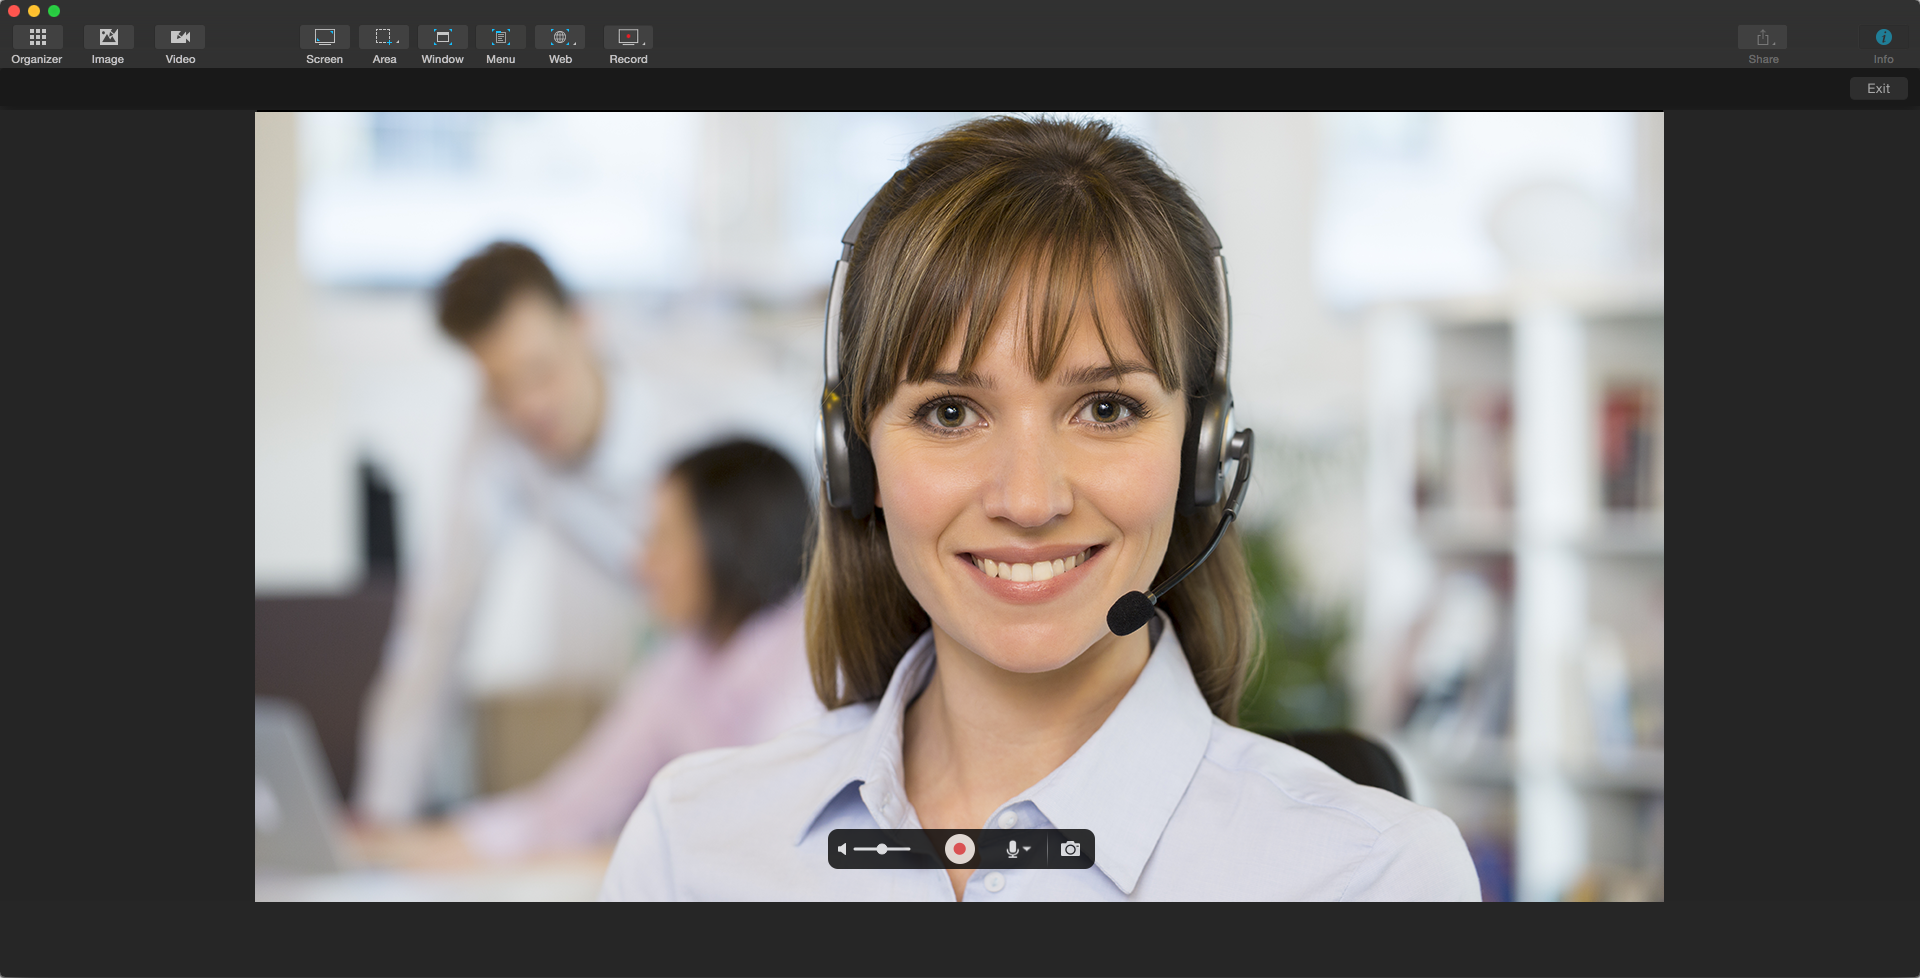
Recording Assistant panel:
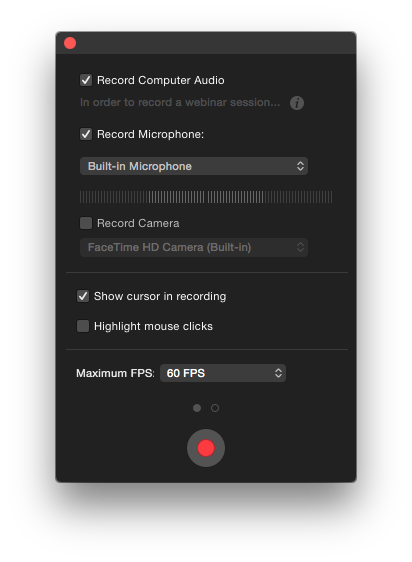
Record Computer Audio - To record computer audio, please make sure to check the ‘Record Computer Audio’ option.
Note:
When you select the option, you will be asked to download the audio component. Next, install the same.
Note:
1. In order to record a webinar session please makes sure you choose Capto Device as your Sound Output Device in respective third party app.
2. If you wish to uninstall the audio component, you can do the same under Capto Preferences -> Record. (re-directing)
Record Microphone - To record your voice, check the ‘Record Microphone’ option. You can also choose from the dropdown.
Record Camera – Now, you can Record screen and camera together by choosing the ‘Record Camera’ option in the Record assistant panel while recording screen and area.
Note: Change camera video’s position and size while editing.
Maximum FPS – You can always alter the FPS under Recording Assistant Panel
Show cursor in recording – Selecting this option will show cursor in recording. You can also choose to highlight mouse clicks for the same.
Stop recording automatically – You can now automatically stop the recording by providing desired time.

Screen capture can be used to capture the entire screen
Area capture allows you to select a region of your choice on the desktop. Selection capture has 3 different modes of capture. They are Rectangle, Circle and Freehand.
Window capture can be used to capture an window or multiple window.
Menu capture can be used to capture the menus of other application.
You need to make use of Capto menu capture option to capture menu pop-up via Capto.
To capture menu from third party apps, click on the menu, which will drop down and hit the keys 'Command Shift M’. The selected area will be highlighted, hit enter.
Note:
It is not possible to capture Capto’s menu due to technical limitations.
Web capture can be used to capture entire web page or parts of a web page directly from Capto or from an active Web browser such as Safari, Firefox or Google Chrome. You can capture a web page using any of the following three options:
You can perform Web capture from Capto in 2 ways:
By opening the required webpage using Capto built-in browser
By opening the current URL displayed in the active Web browser, in Capto browser
You can also make use of ‘Snap active browser URL’ to capture a browser instantly.
You can either capture the entire webpage
Or you can capture scrolling region of the webpage
Or you can capture DOM elements.
Note:
1. Pressing Esc on the keyboard or clicking ‘Cancel’ in the scope bar discards all selections in case of scrolling region and DOM elements selection .
2. To go back to the Organizer, click the ‘Exit button at the top right of Capto browser .
Saving Web Archive:
Capto now provides you with an option to save the webpage archive along with the web snap, thus allowing you to save it both as an image and a webpage. To save a webpage as a web archive, select the 'Save Web Archive' option in Preferences > General.
PDF – You can also save the webpage as a PDF file.
FaceTime capture can be used to capture images from FaceTime Camera or any other webcam connected to your Mac.
You can set the countdown timer for capturing the screen. You can set it under Capto Preferences->Capture
How to Join a video:
In order to join videos, the image needs to be in your system’s Media file
which is located on the left panel.
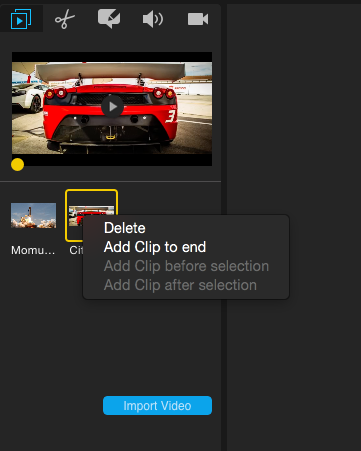
You can ‘Import Video. When you import a video, it will now appear under Media files on the left panel.
There are two ways to add a video, first, is to click and drag the video to the timeline. You can add the video anywhere you like.
Second is to right click on the imported video and choose your option.
To remove a video from media files, right click and tap delete.
If you wish to add a video that is already recorded/edited using Capto, go to the Capture Tray
Select the video you would like to insert by selecting and dragging or right clicking on the video thumbnail.
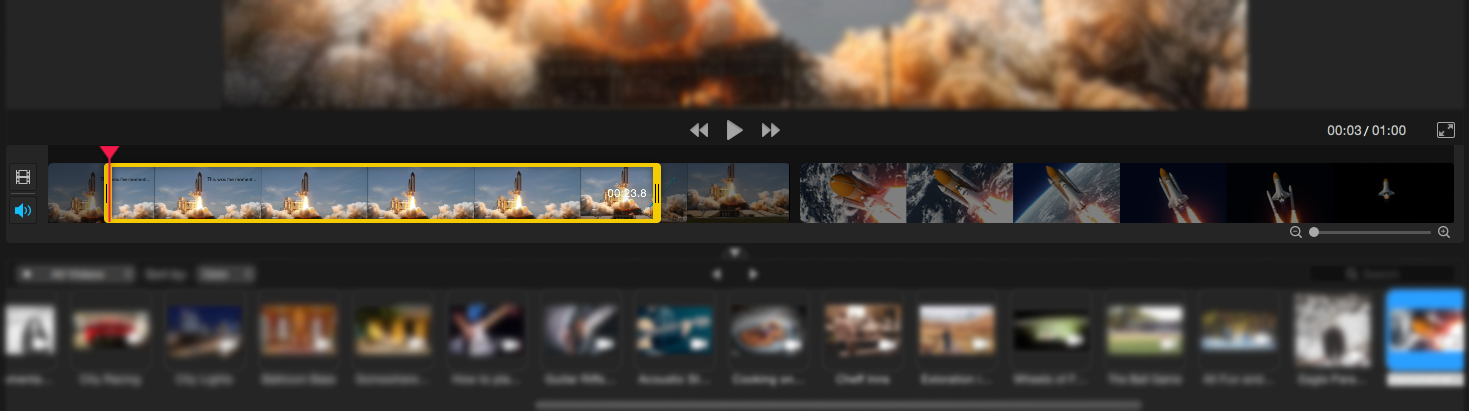
Cut option is available under Edit tools
When you click on ‘Cut’, you will see a start time and end time in the left panel.

You will see a yellow selection in the timeline
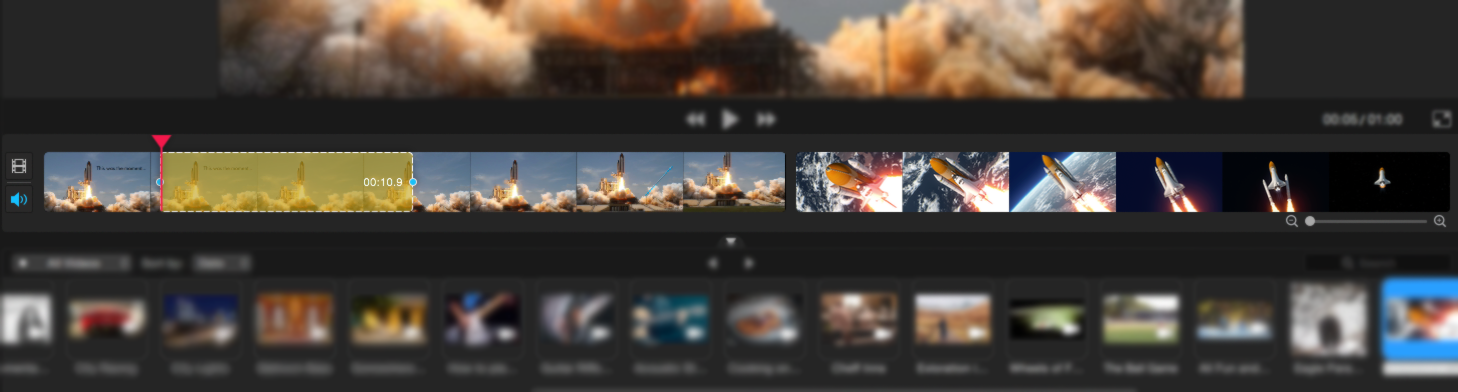
The selection is automatically set to 10 seconds. You can adjust the selection by manually inputting start time and end time on the left panel and the selection will adjust automatically. Or you could adjust the selection by clicking and dragging along the timeline.
You can adjust the location or you can adjust the duration by clicking and dragging two selection knobs As you adjust the selection knobs, the Play-head will move automatically.

To cut the video, you can either click ‘Cut’ on your left panel or just hit delete.
Once you cut, there will be a cut knob

that will show you where you made the cut. You can adjust the length of the cut you made by clicking on the cut knob. The selection for the portion you edited will appear and you can adjust these in the same way.
Trim option is available under Edit tools.
When you click on ‘Trim’ you will see start time and end time on your left panel.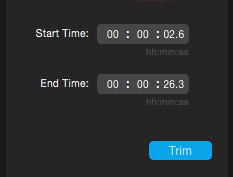
You will also see a highlighted trim selection on your timeline .
You can adjust trim selection in two ways. Manually enter start time and end time to directly trim videos.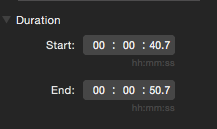
Or you can click and drag left and right trim heads When you finish adjusting trim selection, you can finalize it by clicking ‘Trim’.
To undo, click command Z.

Crop option is available under Edit tools.
When you select ‘Crop’, a yellow rectangle will appear.
This is your crop window. You can move it around however you like and you can click and drag the corners to adjust the size of the rectangle.
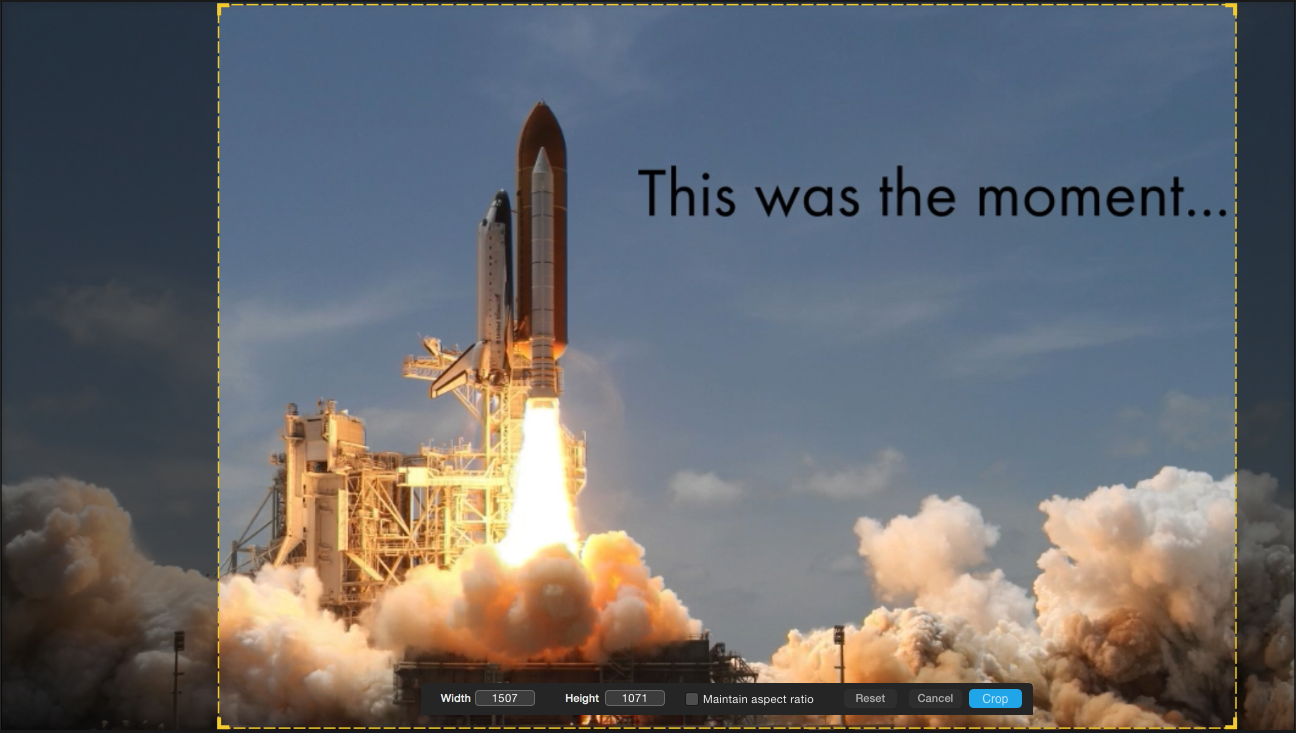
There is an option enabled in Capto, which automatically maintains the aspect ratio.If you do not wish to maintain the aspect the ratio, you can uncheck the same
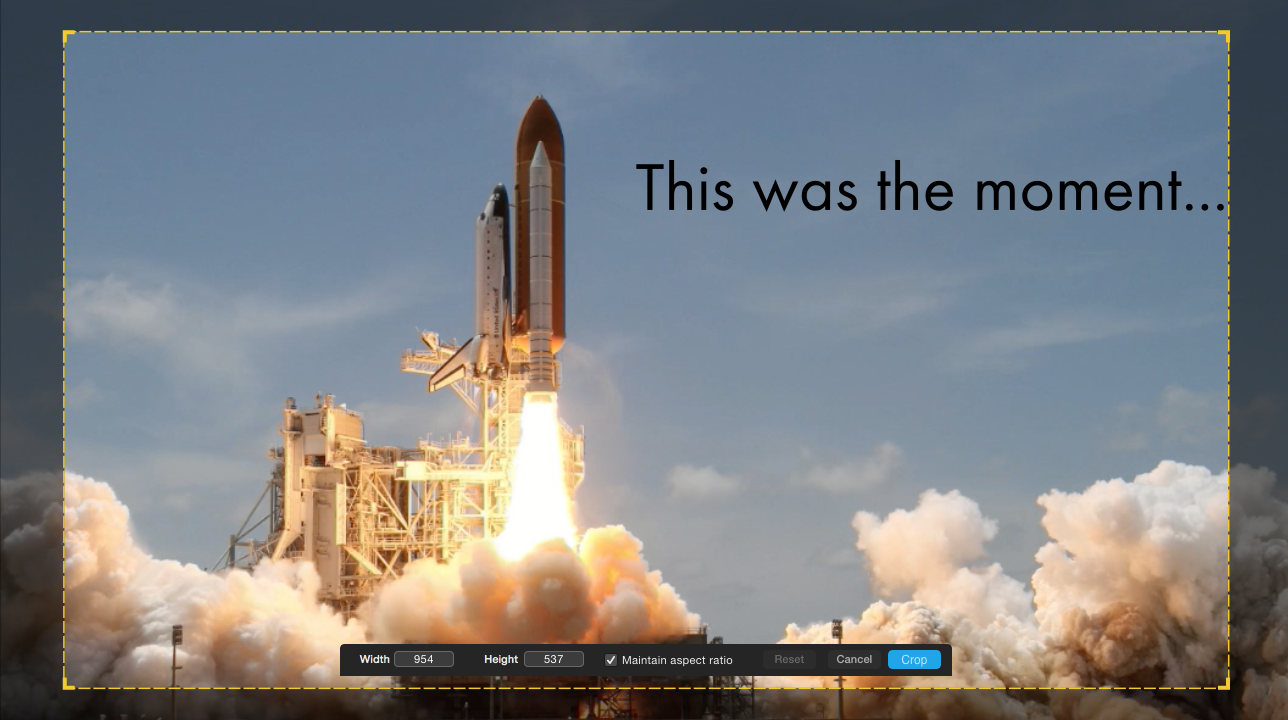
To crop, you can either click ‘Crop’ option within the rectangle window or click ‘Crop’ on your left panel.
Or you can just tap enter.
To undo, click command Z.

How to apply Marker:
Marker option is available under Annotation 
Marker is just a shape that you are adding to a video. There are two types of Marker, rectangle and circular.
You can change the properties you want
To apply the marker, you can click and drag to draw it on the video. 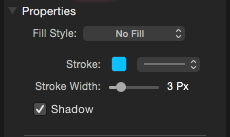
Once you add the marker to the video, you can adjust the size and location of it by clicking and dragging. You will also see an overlay appear on your timeline, which is automatically set to 10 seconds. You can adjust it by clicking and dragging the sides. You can also adjust the overlay by manually entering start time and end time on your left panel.
Arrow option is available under annotations.
Choose the properties you want.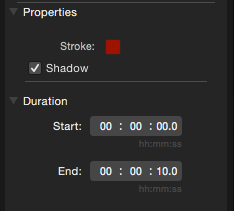
Arrow will draw tail end to head end.To apply an arrow, click and drag to draw on the video. 
Once you draw the arrow you can move it around. You can also adjust the arrow by clicking and dragging the knobs. You will also see an overlay appear on your timeline, which is automatically set to 10 seconds. You can adjust it by clicking and dragging the sides. You can also adjust the overlay by manually entering start time and end time on your left panel.
Callout option is available under annotations. (Screenshot)
Choose the properties you want. (Screenshot)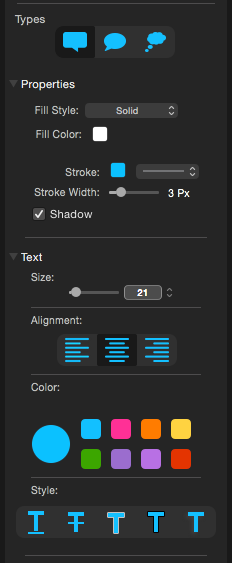
To apply the callouts, click and drag to draw on the video. (Screenshot).
Adjust callouts by clicking and dragging it as desired. Now, you can type in your text. (Screenshot).
Once you draw the Callout you can move it around. You can also adjust the Callout by clicking and dragging
the knobs. You will also see an overlay appear on your timeline, which is automatically set to 10 seconds. You can adjust it by clicking and dragging
the sides. You can also adjust the overlay by manually entering start time and end time on your left panel.(Screenshot)

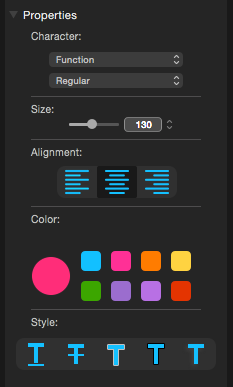
Text option is available under annotations.
To apply text, click and write on the video. You also click and drag to draw a text box. You can adjust the size and position by clicking the knobs.
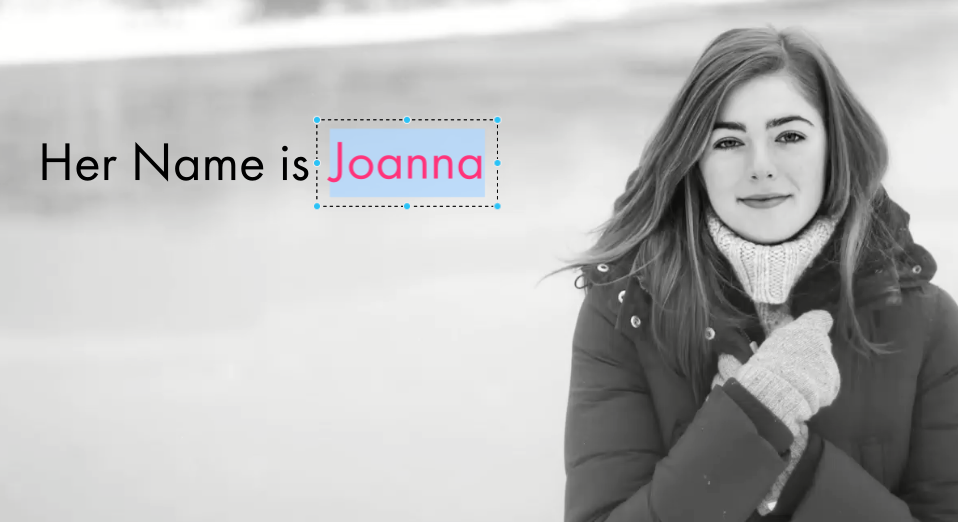
Type in the text you want and adjust the properties.Once you draw the text box you can move it around. You can also adjust the text by clicking and dragging the knobs.You will see an overlay appear on your timeline, which is automatically set to 10 seconds. You can adjustit by clicking and dragging the sides.
You can also adjust the overlay by manually entering start time and end time on your left panel.

Blur option is available under annotations. When you click on blur, you get the options to choose different styles.
You can also adjust the intensity of the blur.
To apply blur, click and drag on the desired area.
Adjust the blur by clicking and dragging the marker knobs.
Once you draw the blur box you can move it around. You can also adjust the blurred area by clicking and dragging
the knobs. You will also see an overlay appear on your timeline, which is automatically set to 10 seconds.
You can adjust it by clicking and dragging the sides. You can adjust the overlay by manually entering start time and
end time on your left panel.


